Write a blog post
Updated September 2026
Your website includes a blog, which is great for sharing recent shoots, tips and studio news. Posts are written in the same editor style as your website pages, so if you've built a page, you already know most of it.
Create a post
- Open Website → Blog. The Posts page lists every post with its updated date, title, author, categories and status.
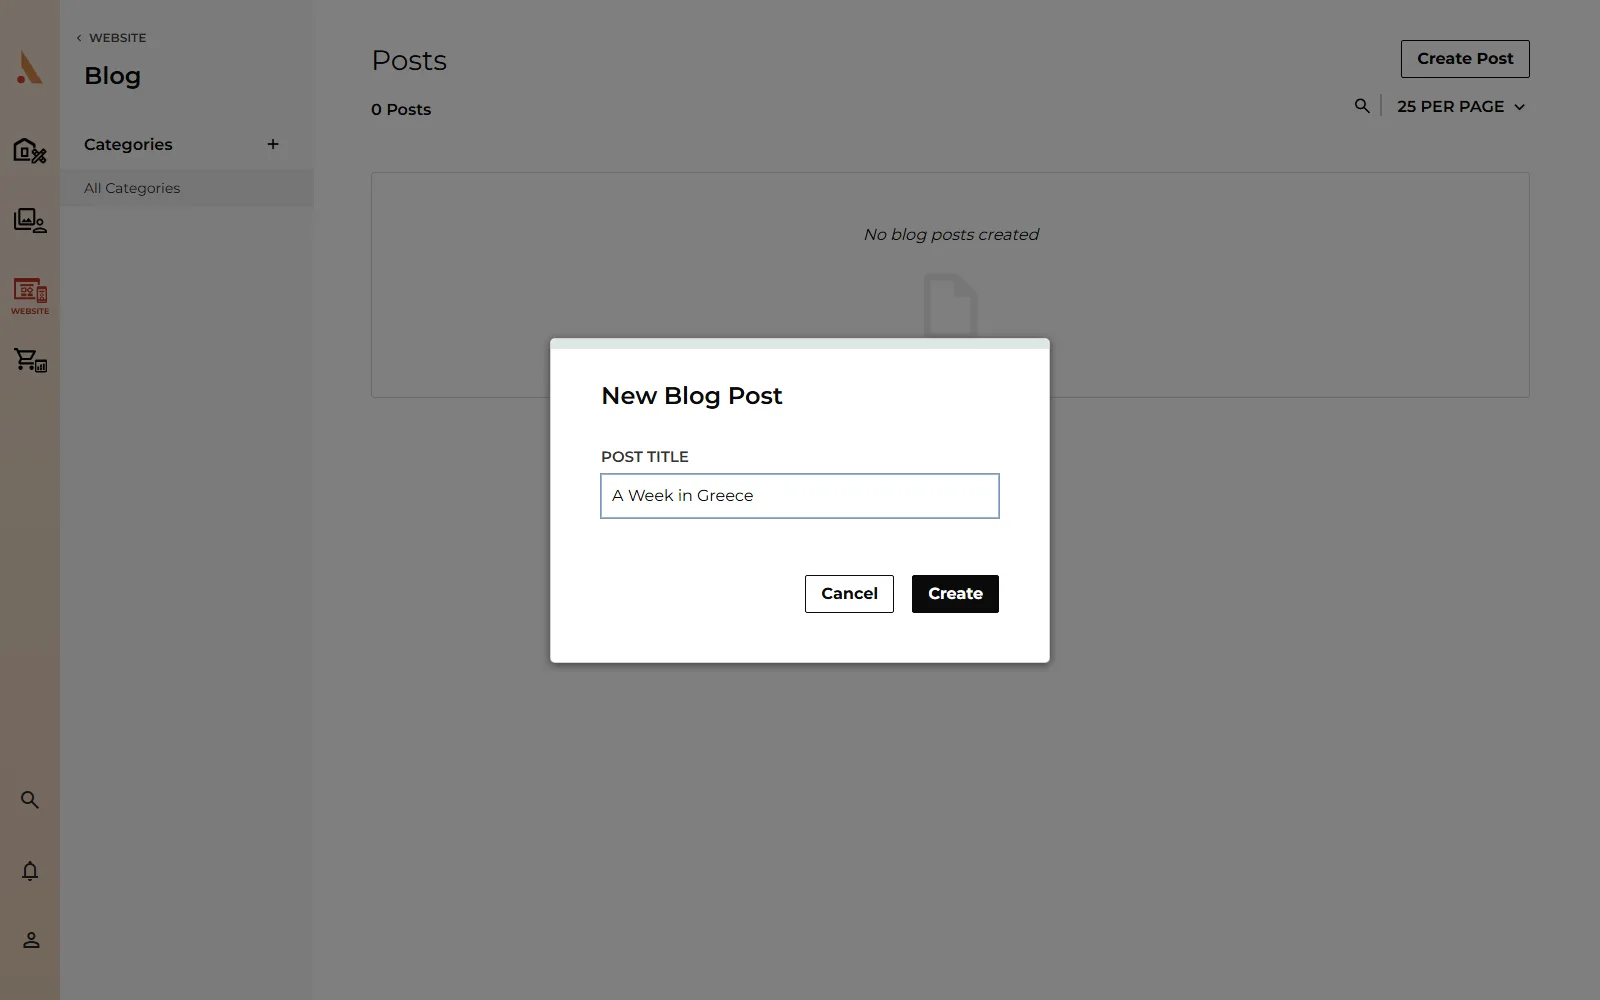
- Click Create Post (or press Shift+N).
- Enter a Post Title. If you have saved blog templates, a Blog Template dropdown also appears so you can start from one.
- Click Create. The editor opens with your new post as a draft.
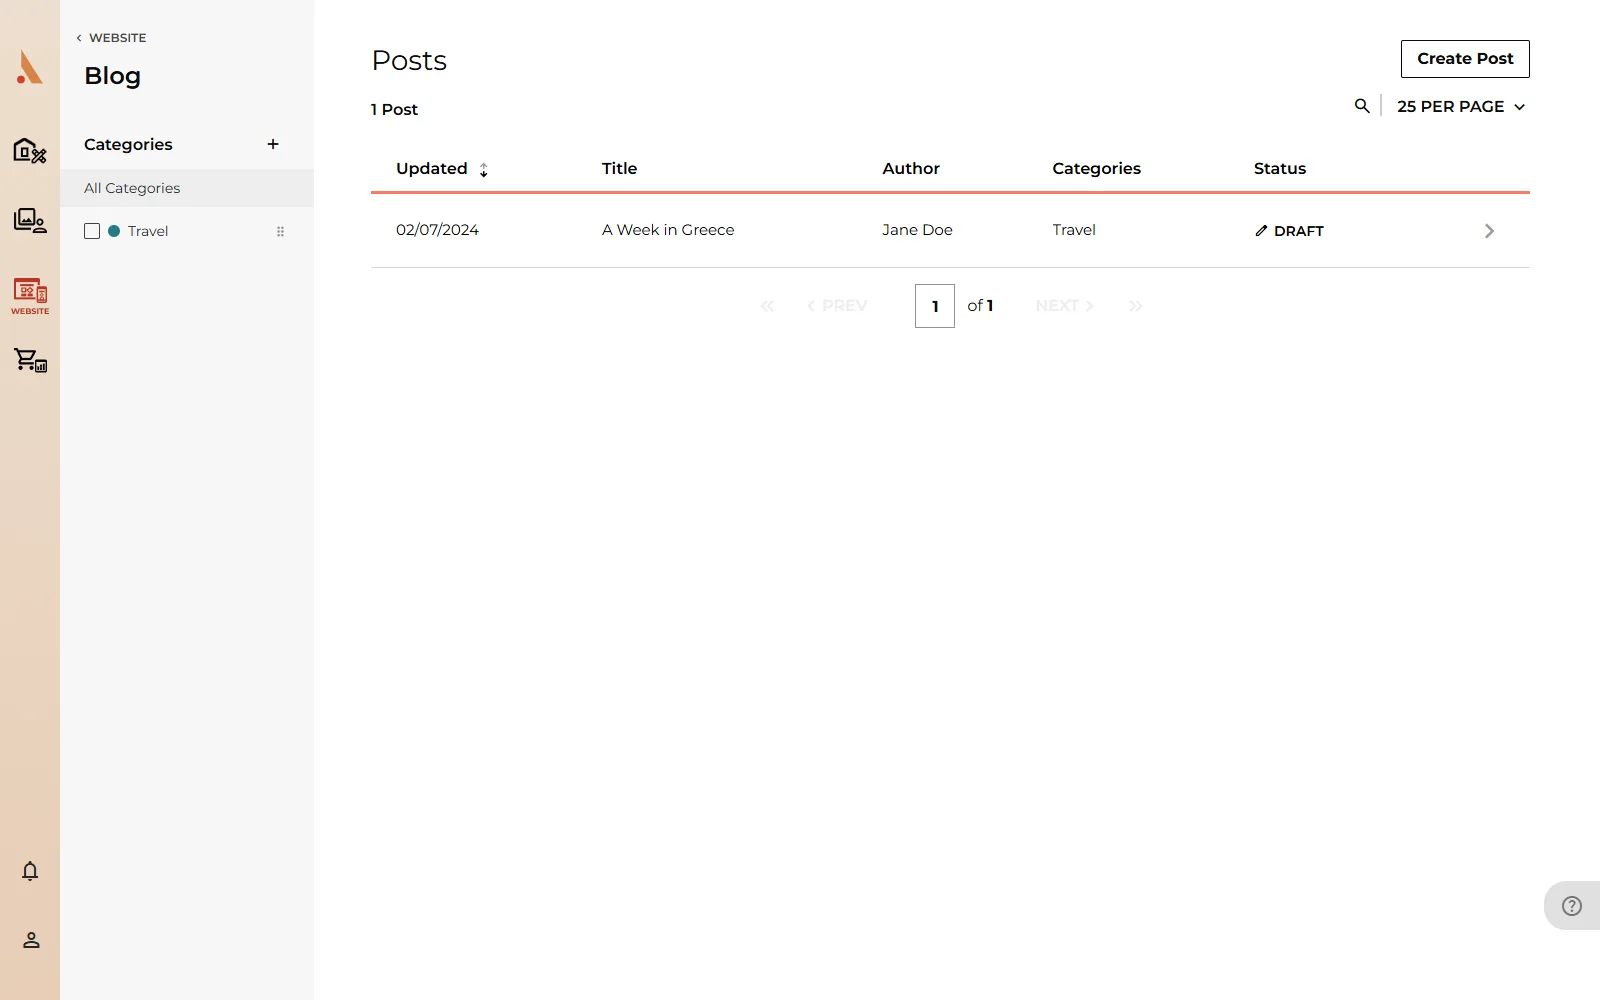
The Free plan includes up to 5 blog posts. Paid plans have no post limit.
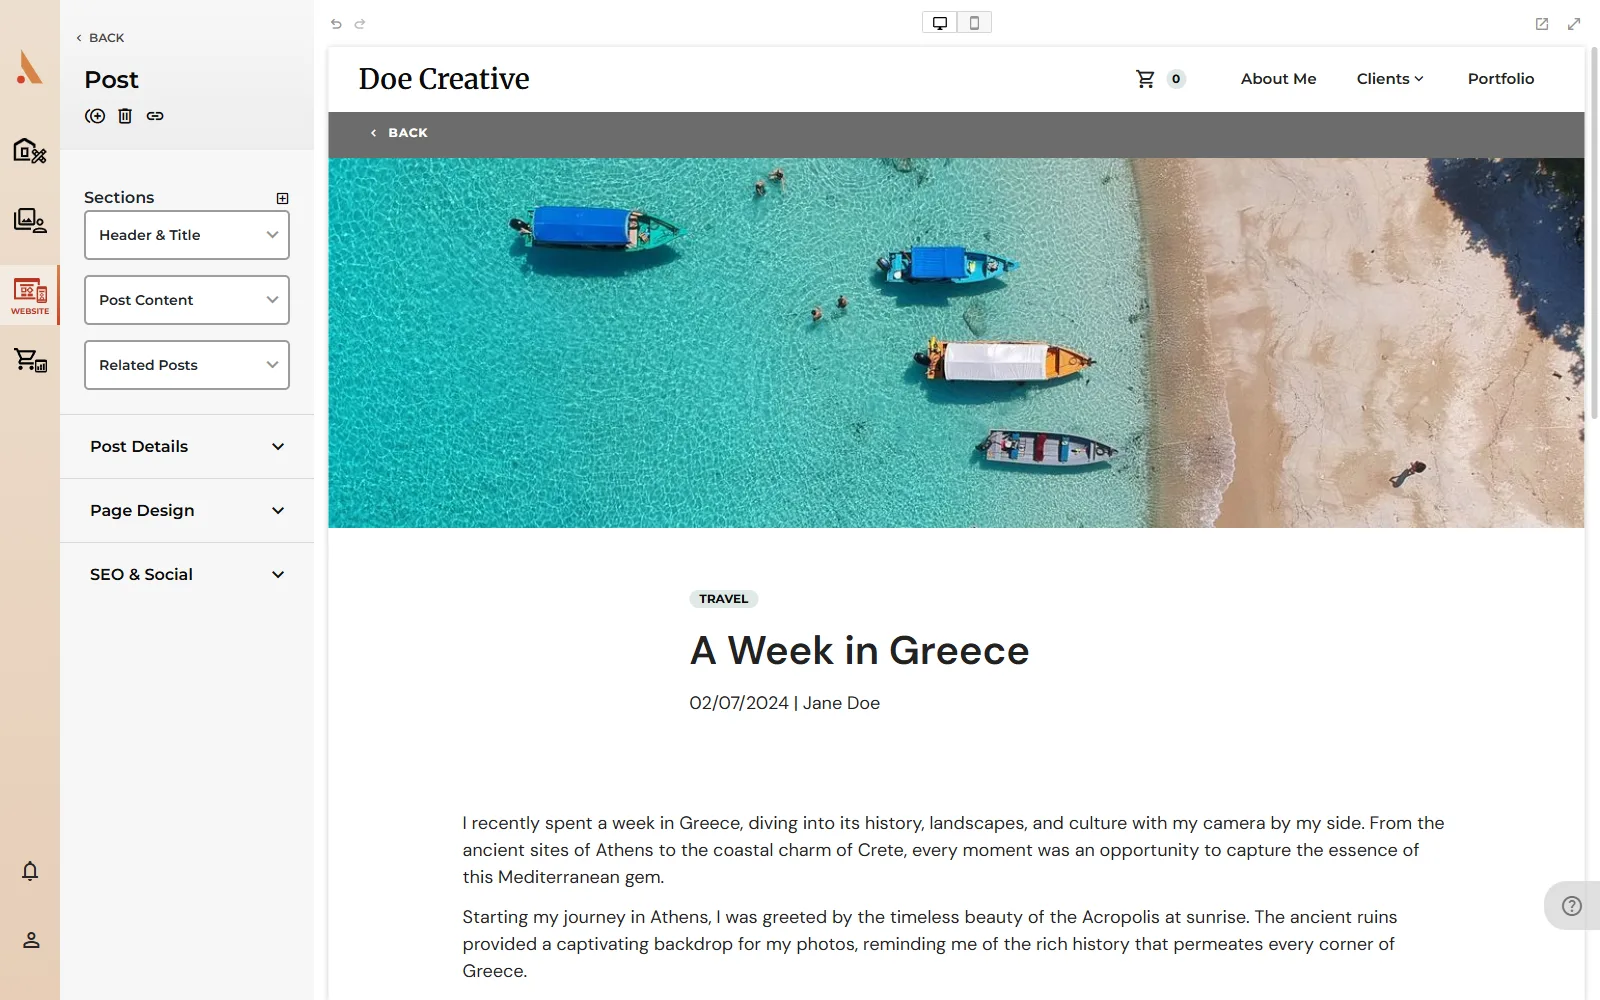
The post editor
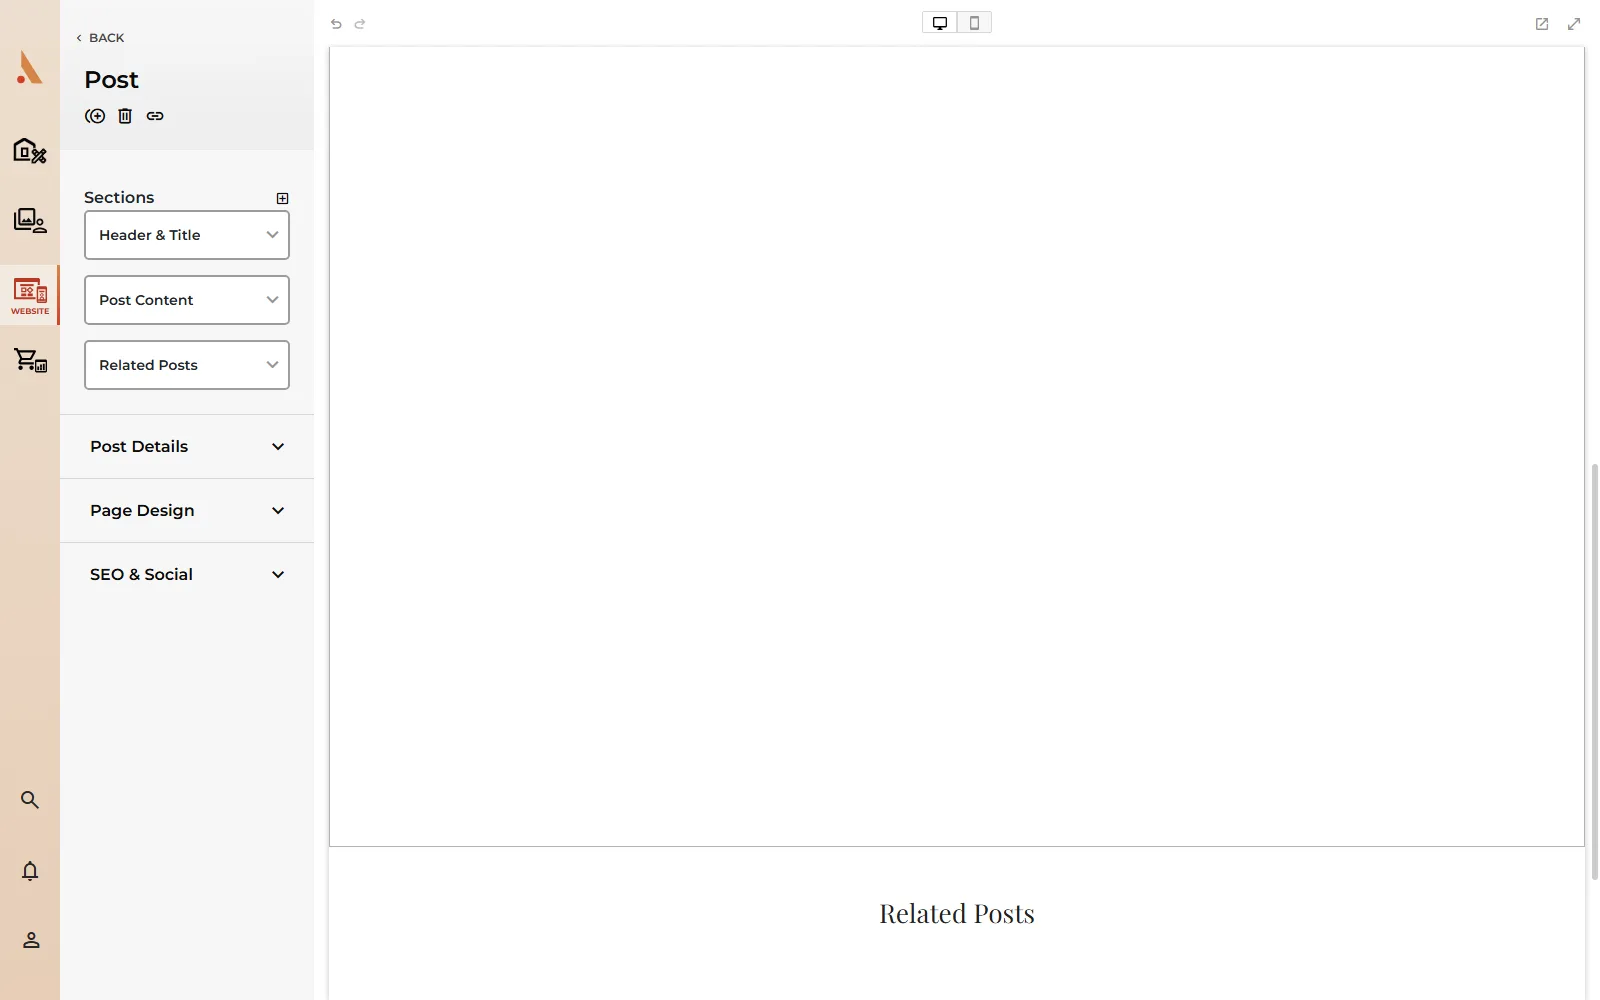
A post is a stack of sections. Two are fixed: Header & Title at the top (your title, hero image and post info) and Related Posts at the bottom. Between them you add your own content sections.
In the sidebar's Sections list:
- Click + or hover between rows to Add Section.
- Drag content sections to reorder them; the header and related sections stay pinned.
- Expand a section's row for quick tools: Show/Hide Section, Background Color, Edit, and Delete (available while more than one content section remains).
 Content sections work like page sections: add text, media and other components, and arrange them on the grid. See Add and arrange blocks for the full toolkit.
Formatting text
Double-click any text to edit it. The toolbar covers Heading 1 through 5 and paragraph styles from your brand style guide, bold, italic, underline, strikethrough, text color, bullet and ordered lists, indentation, alignment, and links. Your post's hero and meta images come from the media manager, where you can pull from your Studio photos or upload new ones.
Post details
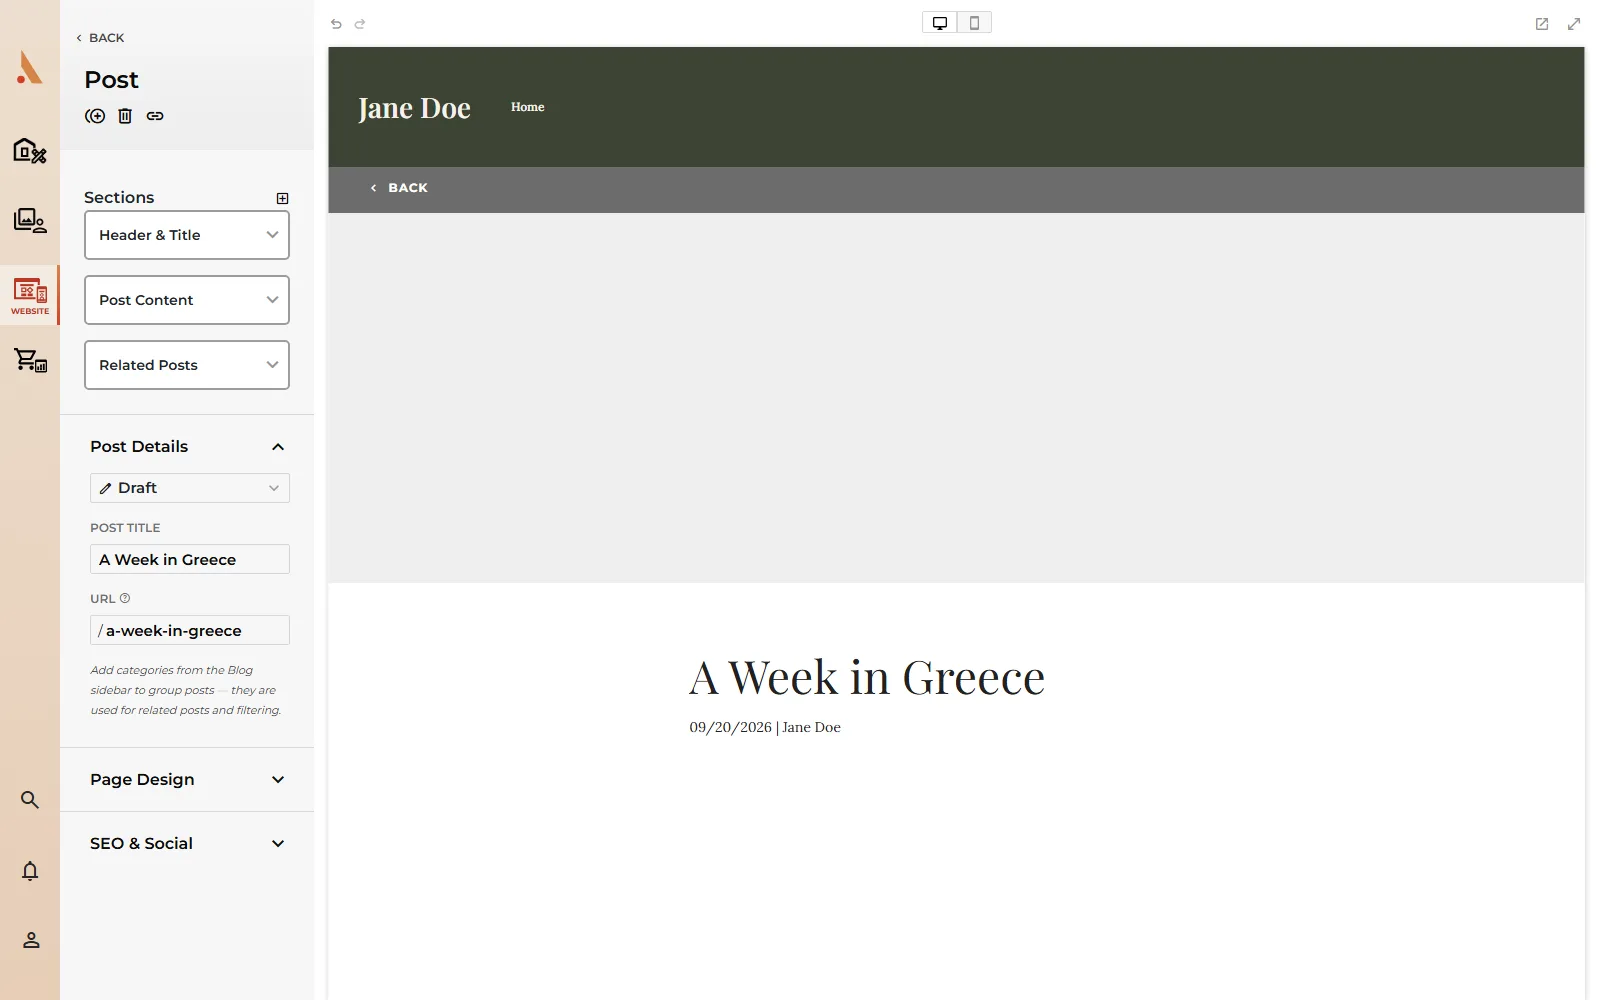
The sidebar's Post Details panel holds the post's metadata:
- Post Status: Draft, Scheduled or Published. New posts start as drafts.
- Post Title and the post's URL slug. Afterify warns if the URL is already in use.
- Categories for filtering and related posts.
Page Design controls the post page itself (Hide Site Navigation, Hide Back Button, Background Color, Hide Footer), and SEO & Social holds the search description and the meta image used in link previews.
Saving
There's no autosave: click Save in the sidebar to store your work, and Cancel to discard back to the last save. You'll see a "Saved Changes" confirmation. The editor blocks navigation while you have unsaved changes, and undo/redo (Ctrl+Z / Ctrl+Shift+Z) works throughout the session. Saving a draft never makes it public; publishing is a separate status change covered in Categories and drafts.
Related
Still stuck?
We're happy to help. Contact support and we'll get back to you as soon as we can.