Connect a custom domain
Updated September 2026
Every site gets a free Afterify URL, but on paid plans you can serve your website from your own domain, like yourstudio.com. You'll need a domain you've already purchased from a registrar (GoDaddy, Namecheap, Cloudflare and so on). Afterify handles verification and the SSL certificate automatically once your DNS records are in place.
Custom domains are a paid feature. On the Free plan, Website → Settings shows the Custom Domains section locked with an upgrade link.
Add your domain
- Open Website → Settings.
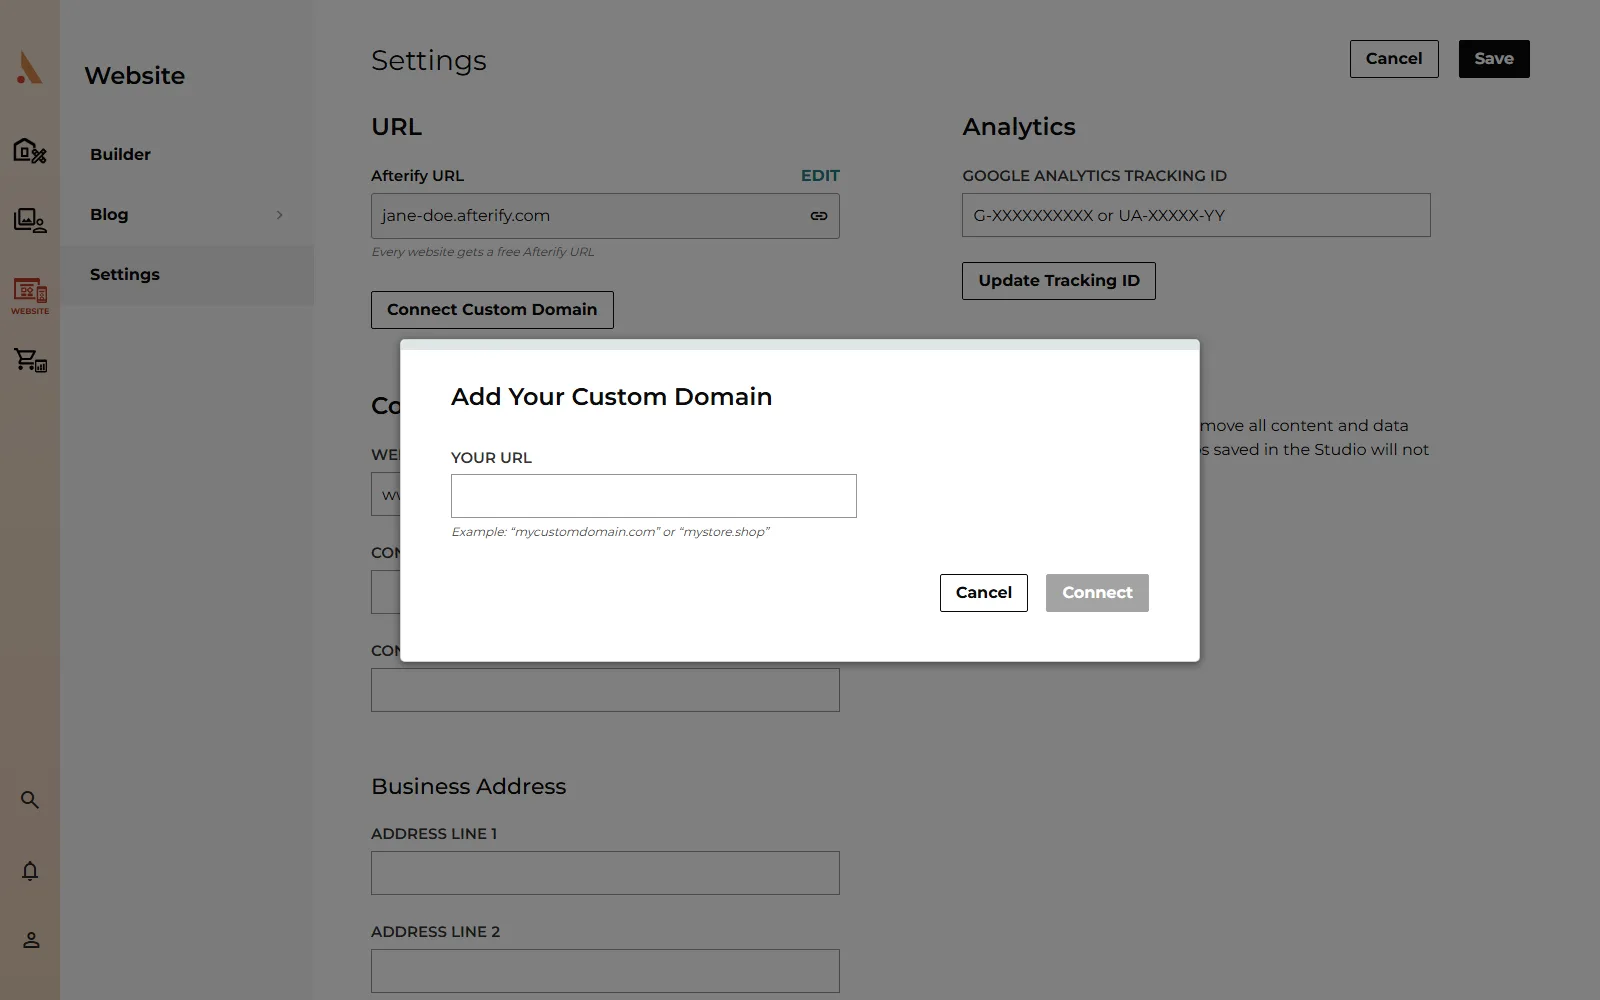
- Click Connect Custom Domain.
- Enter your domain under Your URL, for example
mycustomdomain.comormystore.shop. You can paste it with or withouthttps://orwww.; Afterify normalizes it. - Click Connect.
Add the DNS records
The modal switches to Connect to Your Domain Provider and walks you through three steps:
- Go to the DNS control panel for your domain provider. That's whoever you pay for the domain.
- Add these DNS records. The modal lists the exact records for your domain (type, name and value) with a copy button next to each value. If your provider doesn't support ALIAS records, expand My provider doesn't support ALIAS for an alternative record that works everywhere.
- We verify and secure your domain automatically. Nothing else to do on Afterify's side.
Verification and status
The modal (and a status button on the Settings page) shows your domain's live status:
- Waiting for DNS: records not detected yet. DNS changes can take up to a few hours to propagate.
- DNS detected, then Issuing certificate: Afterify found your records and is requesting the SSL certificate, which usually takes a few minutes.
- Connected: your domain is live and traffic is served over HTTPS.
- DNS not found or Certificate failed: double-check the records at your provider, then use Check now to re-run verification (available every 30 seconds).
The status updates in real time, so you can close the modal and check back any time. Once connected, your site is served from your custom domain, and links inside Afterify (like Open Website) use it too.
Remove a custom domain
Open the domain from Website → Settings, click Disconnect, and confirm with Yes, Remove Custom Domain. Traffic to that domain stops resolving to your site, and your Afterify URL keeps working as always.
A domain can only be connected to one Afterify site at a time, and Afterify's own domains can't be used as custom domains.
Related
Still stuck?
We're happy to help. Contact support and we'll get back to you as soon as we can.