Organize with collections
Updated September 2026
Collections, called sections in the app, group photos inside a project. In a wedding project you might have sections for Getting Ready, Ceremony and Reception. Your client sees each section as a titled group in their gallery, in the order you set.
Every new project starts with one section named Highlights, so you can upload immediately and organize later.
Create a section
- Open the project.
- Scroll to the bottom of the photo list and click Add Section.
- Enter a Section Name (it has to be unique within the project) and submit.
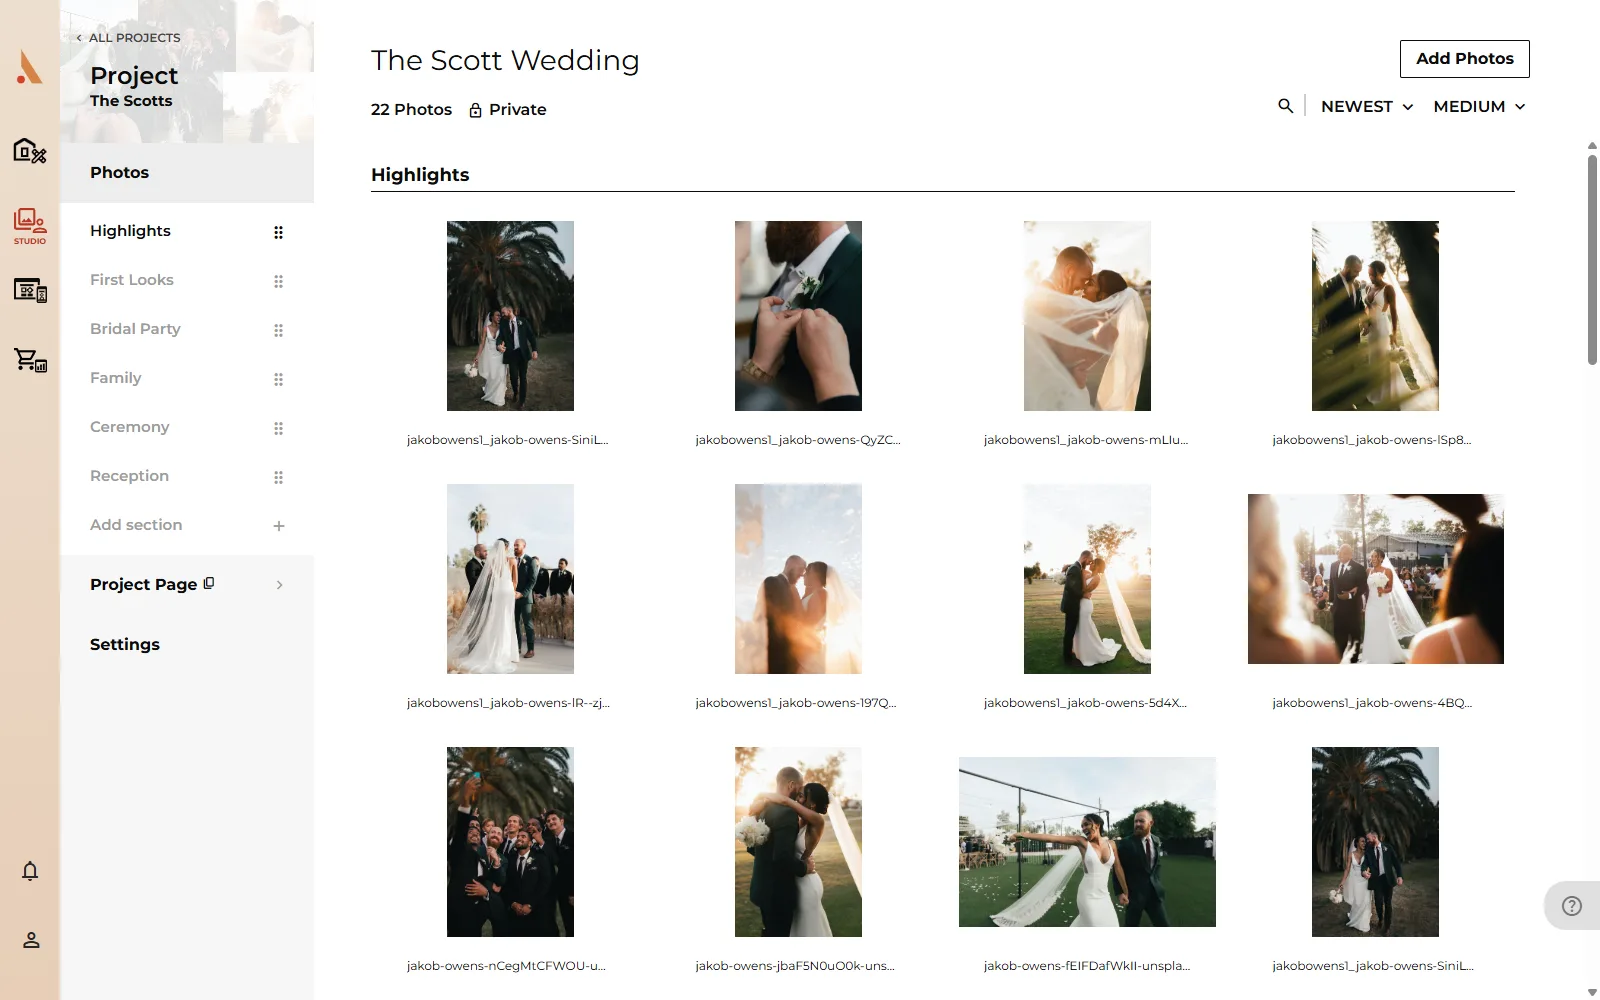 You can rename a section any time with the edit icon next to its title.
Move photos between sections
There are two ways:
- Drag and drop: drag a photo (or a multi-selection) onto another section. Select several photos first with Ctrl/Cmd-click or Shift-click, or press Ctrl/Cmd+A to select everything.
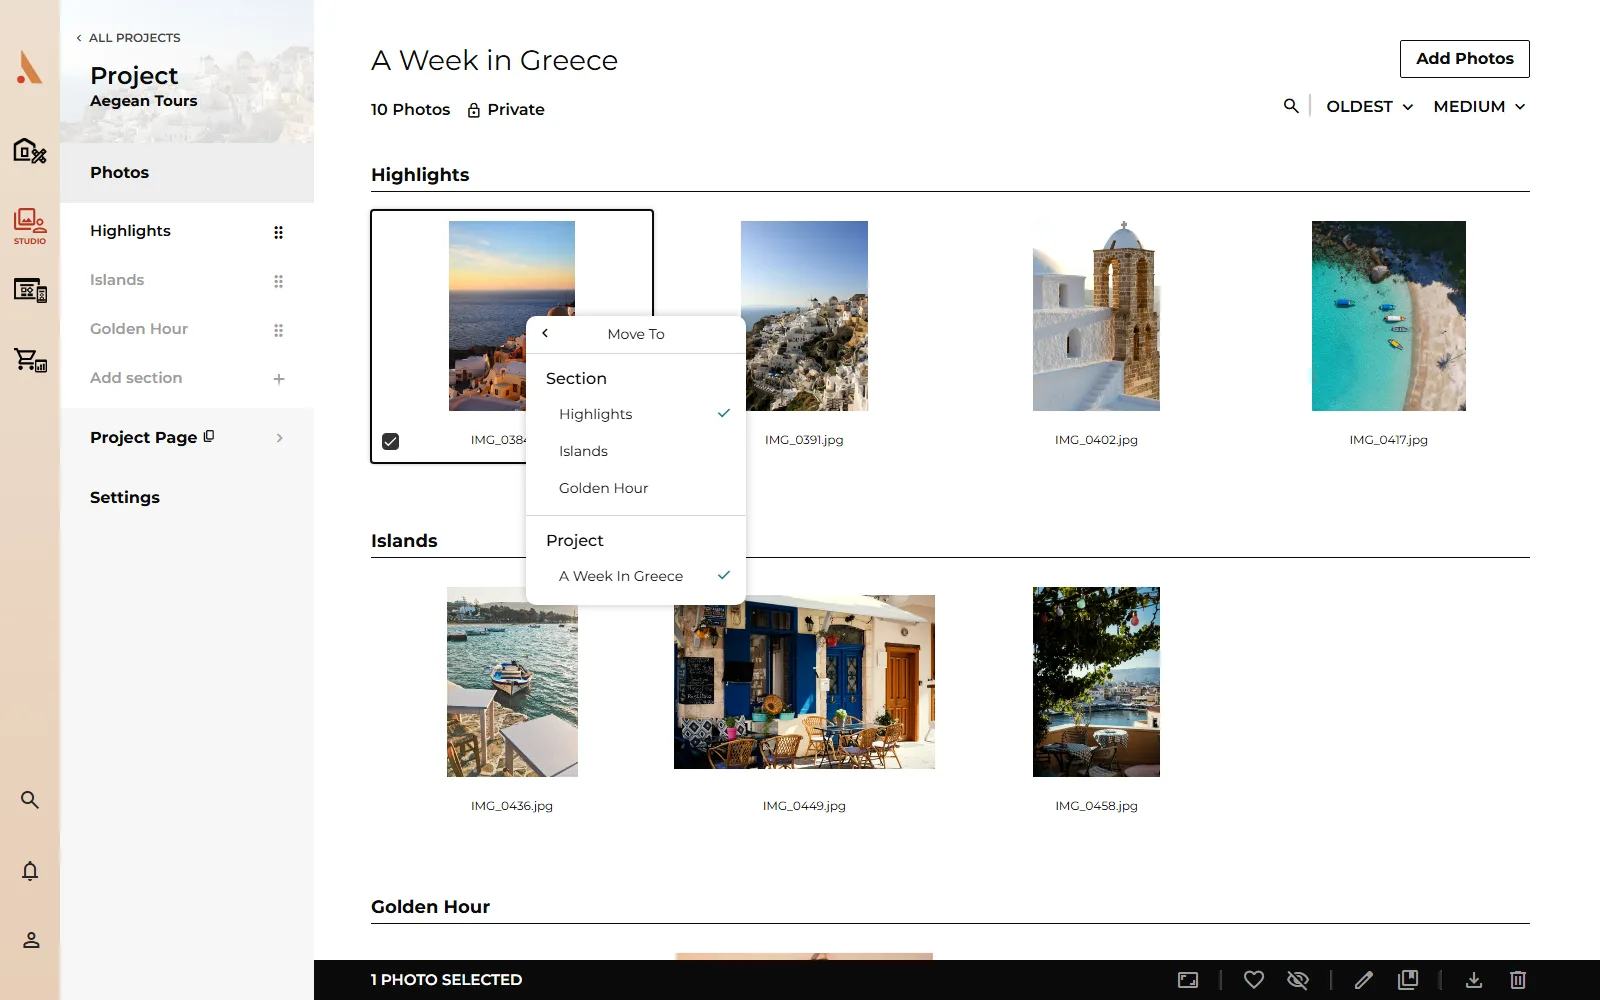
- Right-click → Move: right-click the selection, choose Move, then pick a target under Section. The same menu can move photos to a different Project entirely.
When uploading, you can also choose the destination section in the Add Photos modal, or click a section's Upload to Section icon to send new photos straight into it.
Order sections and photos
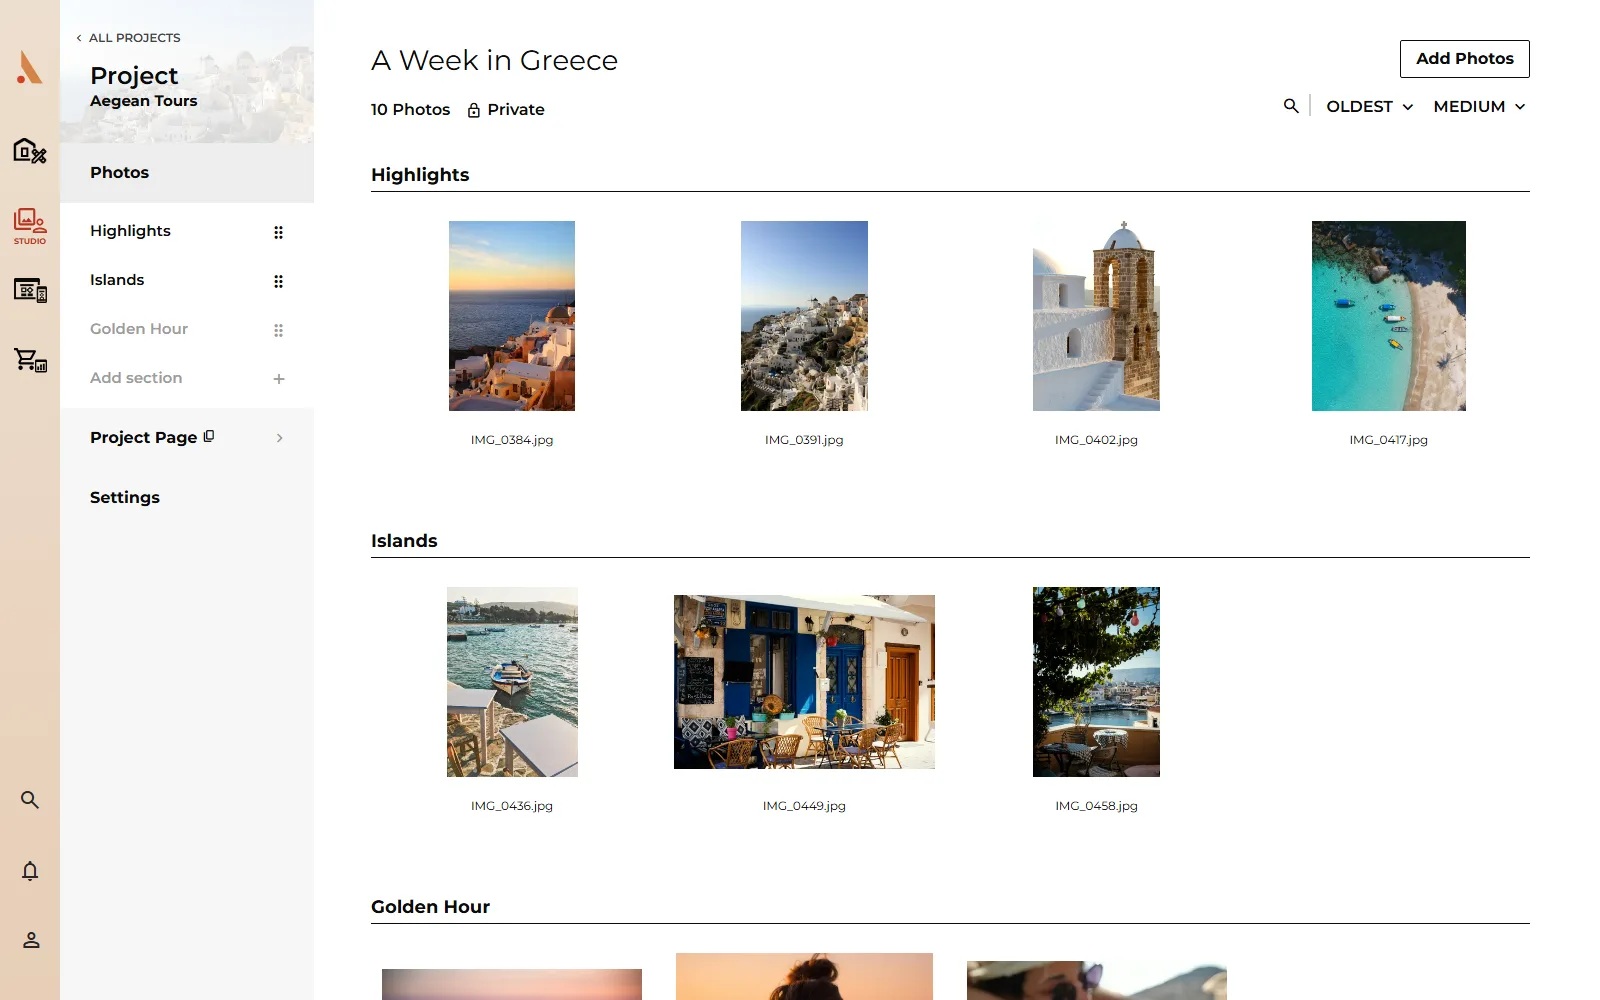
- Sections: use the Move Up and Move Down arrows next to a section's title to reorder sections. The gallery shows them in the same order.
- Photos: the sort dropdown in the project toolbar controls photo order within sections. Choose Custom to drag photos into your own order; other sorts (like newest-first) order them automatically.
- View mode: the view toggle switches the studio grid between larger and smaller thumbnails. This only changes your view, not the client's gallery; gallery layout lives on the project's Design page.
Delete a section
Click the Delete Section icon next to the section's title and confirm. Deleting a section also deletes the photos inside it and frees their storage, so move photos out first if you want to keep them. A project always keeps at least one section.
Related
Still stuck?
We're happy to help. Contact support and we'll get back to you as soon as we can.