Upload photos
Updated September 2026
Photos are uploaded into projects. You can upload from the project page itself, or start from the Workspace or client page and pick the destination as you go.
Upload into a project
- Open the project.
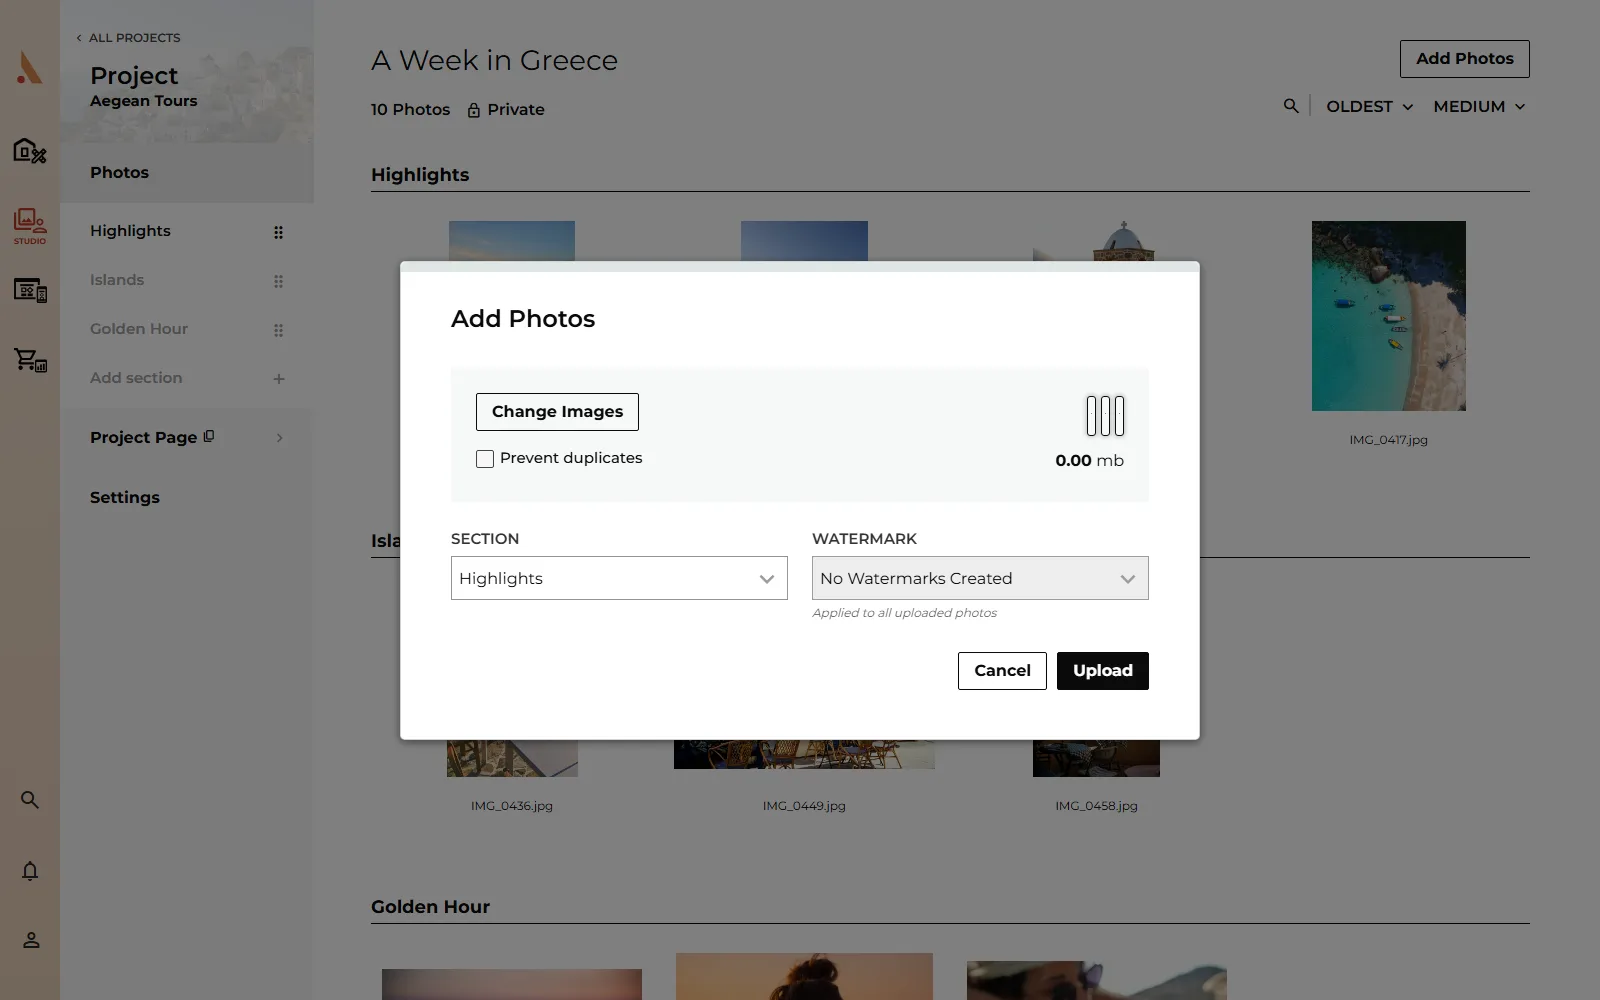
- Drag your photos anywhere onto the page, or click Add Photos (or press Shift+N).
- If you used the button, click Select Images to browse for files. The modal shows a preview of the first few photos and the total upload size.
- Choose which Section the photos land in, and optionally a Watermark to apply to all of them.
- Tick Prevent duplicates if you want files that match an existing photo's name to be skipped.
- Click Upload.
To target a specific section directly, click the Upload to Section icon next to that section's title.
Supported formats
Studio photo uploads accept PNG, JPG and GIF images up to 100 MB each. Anything else in your selection is skipped, and a message tells you how many files were left out.
Video and audio aren't uploaded into galleries; they go into your website through the website builder's media block, which is available on paid plans. See Text, image and media blocks.
RAW files aren't supported. Export your edits to JPG before uploading.
Upload progress
Uploads run a few files at a time in the background, and you can keep working anywhere in the app while they finish. The progress indicator tracks each file through Preparing, Uploading and Complete; a file that fails shows Error without stopping the rest of the batch. After upload, Afterify processes each photo into the web sizes your gallery serves, so a photo may show as processing for a few moments before its thumbnail appears.
If this is the project's (or client's) first upload, the first photo in the batch automatically becomes its cover.
EXIF data
Afterify reads EXIF data from each photo at upload: camera make and model, lens, exposure, aperture, ISO, focal length and capture time. Open any photo and expand Advanced in the Image Details panel to see it.
Storage and limits
Every upload counts against your plan's storage, shown on the Studio Workspace with an Upgrade link on the Free plan. If a batch would push you past your storage or photo limit, Afterify stops admitting new files; uploads already in flight finish, and you'll see a message about the limit. Free up space by deleting photos, or upgrade under Dashboard → Settings → Billing.
See Storage and plan limits for what each plan includes.
Related
Still stuck?
We're happy to help. Contact support and we'll get back to you as soon as we can.