Store setup overview
Updated September 2026
Your Afterify store lets clients buy directly from their galleries. There are two things you can sell:
- Prints: print-on-demand products fulfilled by WHCC, a professional photo lab. When a client orders, the lab prints and ships directly to them. The product cost is covered by the client's payment, and the rest is paid out to you.
- Digital downloads: high-resolution downloads of individual photos or whole galleries, delivered automatically after purchase.
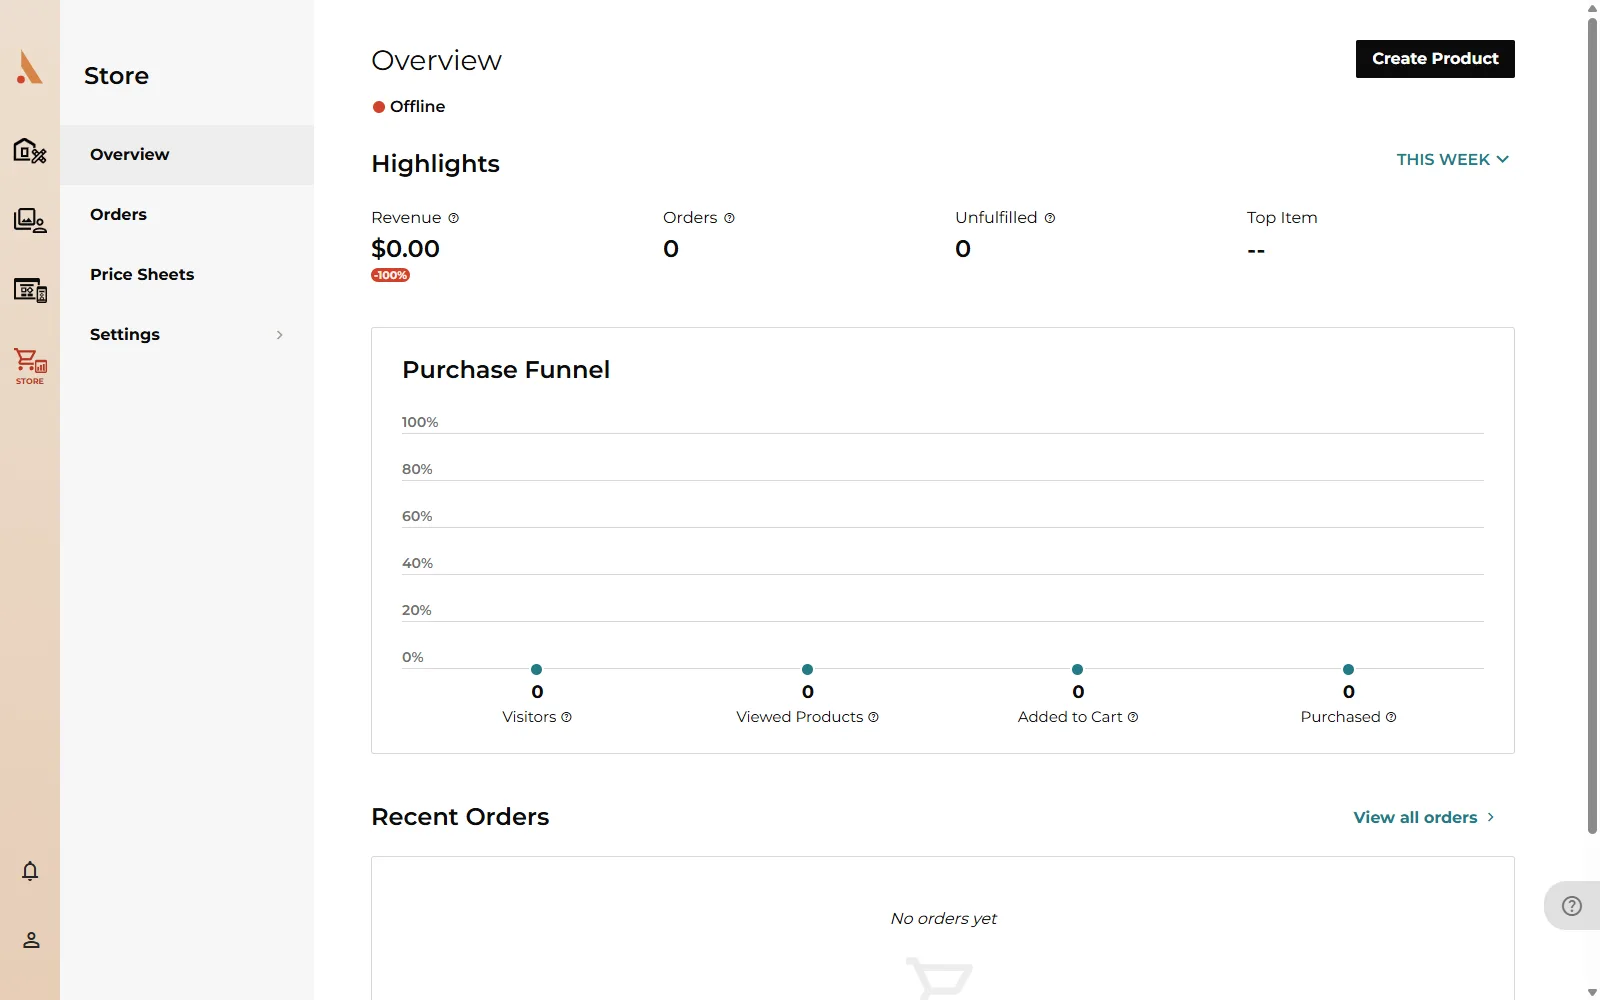
Open Store in the sidebar to get started. The Store Overview shows a Set Up Your Store guide that tracks the same four steps covered below, and checks each one off as you complete it.
Step 1: Create a product set
A price sheet is the set of products and prices clients can order from a gallery. Under Store → Price Sheets, click Create New Price Sheet and choose either a Vendor sheet (print-on-demand products from WHCC) or a Gallery Download sheet (digital downloads). Your first price sheet automatically becomes the default for all of your projects.
Full walkthrough: Create a product set, then fine-tune pricing in Price sheets.
Step 2: Connect your payment options
Afterify uses Stripe for checkout and payouts. Under Store → Settings, click Connect Account and complete Stripe's onboarding. Your store cannot go live until the connection is complete.
Full walkthrough: Connect Stripe.
Step 3: Enter your tax information
Add a tax rate for each US state where you're registered to collect sales tax. Taxes are then calculated and applied automatically at checkout.
Full walkthrough: Set up taxes.
Step 4: Publish your store
Before going live you can switch your store to Test mode and place a practice order, with no payment processed. When you're ready, set the Store Status to Live on the Store → Settings page. You'll also need a mailing address on file in your account settings.
Full walkthrough: Test and publish your store.
On the Free plan, store sales carry a 15% commission. Upgrade to a paid plan to remove the fee. See Plans at a glance.
Turning the store on for a gallery
Once your store is live, each project controls its own store. In the project's settings, enable the Store status switch and pick which Store Price Sheet applies. Your default price sheet is used unless you choose another one. See Project settings.
Related
Still stuck?
We're happy to help. Contact support and we'll get back to you as soon as we can.